How to Fix a Shower Leaking
Written by
Helpi
Published on
July 26, 2025
How to Fix a Leaking Shower: Step-by-Step Guide for DIY Repair
A leaking shower isn’t just a nuisance—it can damage your bathroom, raise your water bills, and lead to mould, mildew, and rot behind your walls or under your floor. Whether you’re dealing with a leaking shower head, a dripping control valve, or a shower tray that isn’t sealed, acting quickly is essential.
In this guide, we’ll show you how to fix a leaking shower, covering common causes, simple DIY fixes, and when to call a plumber.
Shower leaks can come from a variety of sources. Here are the most common:
● Leaking shower head or hose
● Worn-out tap washers or cartridge
● Cracked or poorly sealed grout or silicone
● Damaged or loose shower tray
● Water leaking behind tiles
● Pipework issues inside the wall
Start by inspecting:
● The shower head and hose: Look for dripping or signs of wear
● The tap or mixer valve: Check for leaks around the controls
● The shower tray or enclosure: Check corners, seals, and grout lines
● The floor and ceiling below: Water stains suggest a leak behind walls or under the tray
Dry the area completely and run the shower—see where water appears. You may need to check one section at a time.
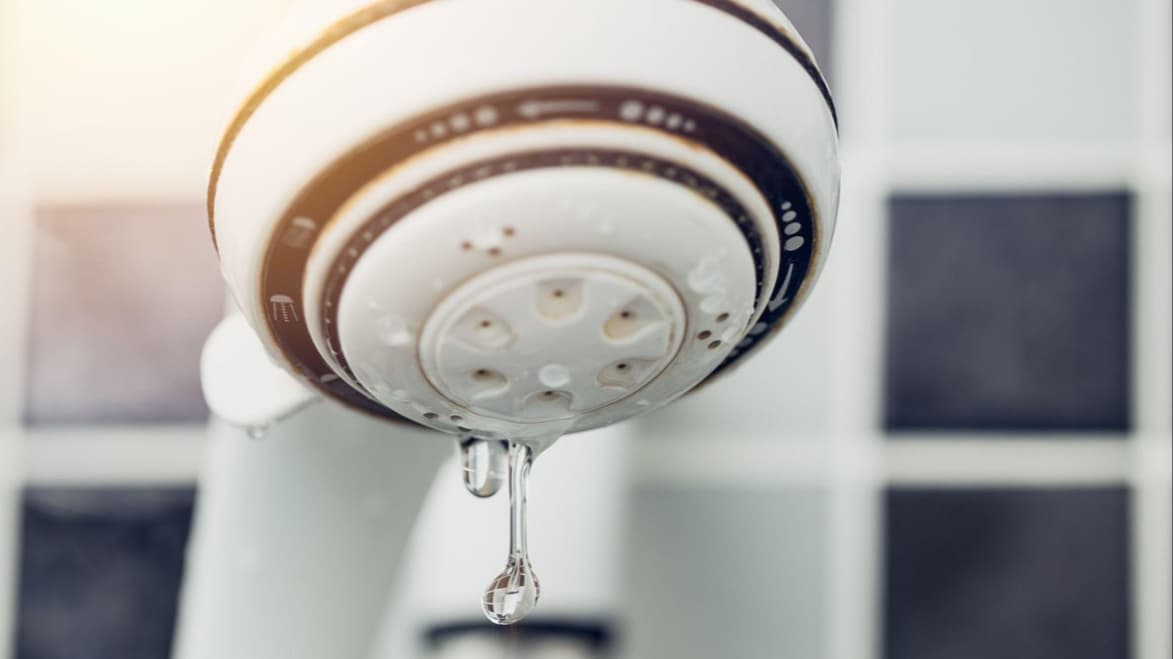
If your shower head is dripping after you turn it off, try this:
● Unscrew the head and clean any limescale or debris from the rubber washer
● Replace the washer or rubber seal if damaged
● For a leaking hose, check both ends and replace the hose if necessary
● Use plumber’s tape (PTFE tape) to reseal threaded connections before reattaching
This quick DIY shower repair often solves persistent dripping.
A leak from the tap or valve usually means:
● The washer or ceramic cartridge inside is worn
● The O-ring is damaged
● The valve body is loose or corroded
To fix it:
1. Turn off the water supply
2. Remove the tap handle and valve cover
3. Replace the washer or cartridge (available at most hardware stores)
4. Reassemble and test
If you’re not confident with plumbing, it’s best to call a professional for shower leak repair.
Water escaping through cracked grout or damaged silicone sealant around your shower can cause slow leaks behind tiles or under trays.
To reseal:
1. Scrape away the old silicone using a sealant remover or blade
2. Clean and dry the area thoroughly
3. Apply new waterproof silicone sealant evenly around edges and joints
4. Let it cure fully (usually 24 hours) before using the shower
For grout cracks, use a grout repair compound to patch and reseal.
Leaks from the shower tray often mean:
● The tray is not level
● The sealant around the edges has failed
● There are cracks or gaps between the tray and tiles
Make sure the tray is secure and sealed on all sides. Re-silicone if needed. If the tray itself is cracked or shifting, professional replacement may be required.
Contact a plumber if:
● The leak is coming from inside the wall
● There’s mould or water damage below the shower
● Your tray or pipes are damaged or loose
● You’ve tried DIY methods with no success
A professional can access concealed pipework, test for hidden leaks, and ensure everything is watertight.
Keep your shower in top condition by:
● Regularly checking and resealing silicone
● Cleaning limescale from the head and hose
● Using grout protector to extend grout life
● Fixing drips early before they become major leaks
Final Thoughts
A leaking shower can lead to costly repairs if ignored—but most issues are fixable with basic tools and a little DIY effort. Start by identifying the source, reseal where needed, replace worn parts, and always act fast.
Need help now? Use Helpi to find a trusted local plumber for fast, affordable shower leak repairs—all with upfront pricing and real reviews.

Published: July 29, 2025
Updated: August 5, 2025